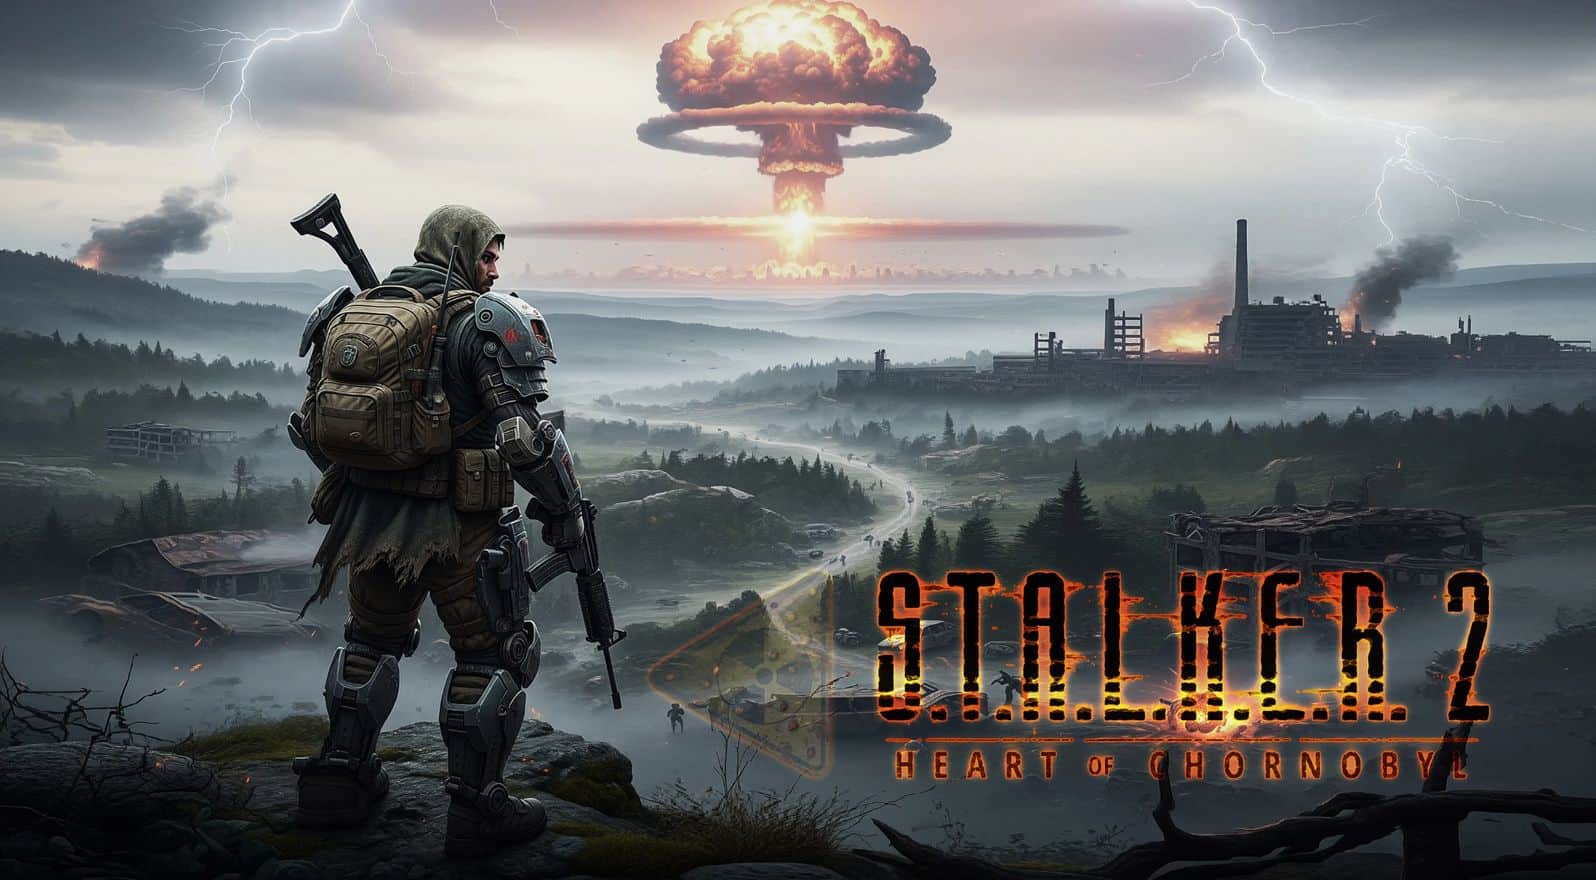
S.T.A.L.K.E.R. 2 – A-BOMB
A-BOMB ReShade:
Colorgrading
Cinematic-DOF
FilmicAnamorphSharpen
MagicBloom + Unique ScreenDirt-Texture
This MOD is based on ReShade.
It’s a thirdparty-application and not provided by me!
If you have any problems, just get in touch with the developers!
This MOD includes an Article for:
Minimizing Basic-DOF, Lowering AutoExposure, TAA-Tweak. (Work in Progress)
As some of you already know, I always ensure that the impact of my mods and ReShade profiles on performance is as minimal as possible.
So it should come as no surprise that I paid close attention to this aspect for this mod as well.
Performance:
I achieve between 90–160 FPS, and with this MOD/ReShade profile, you can expect a 10–20 FPS drop, though the impact on performance is with this mod much more noticeable!
Of course, this profile is highly subjective as it aligns with my personal taste.
Here are the specific adjustments I made:
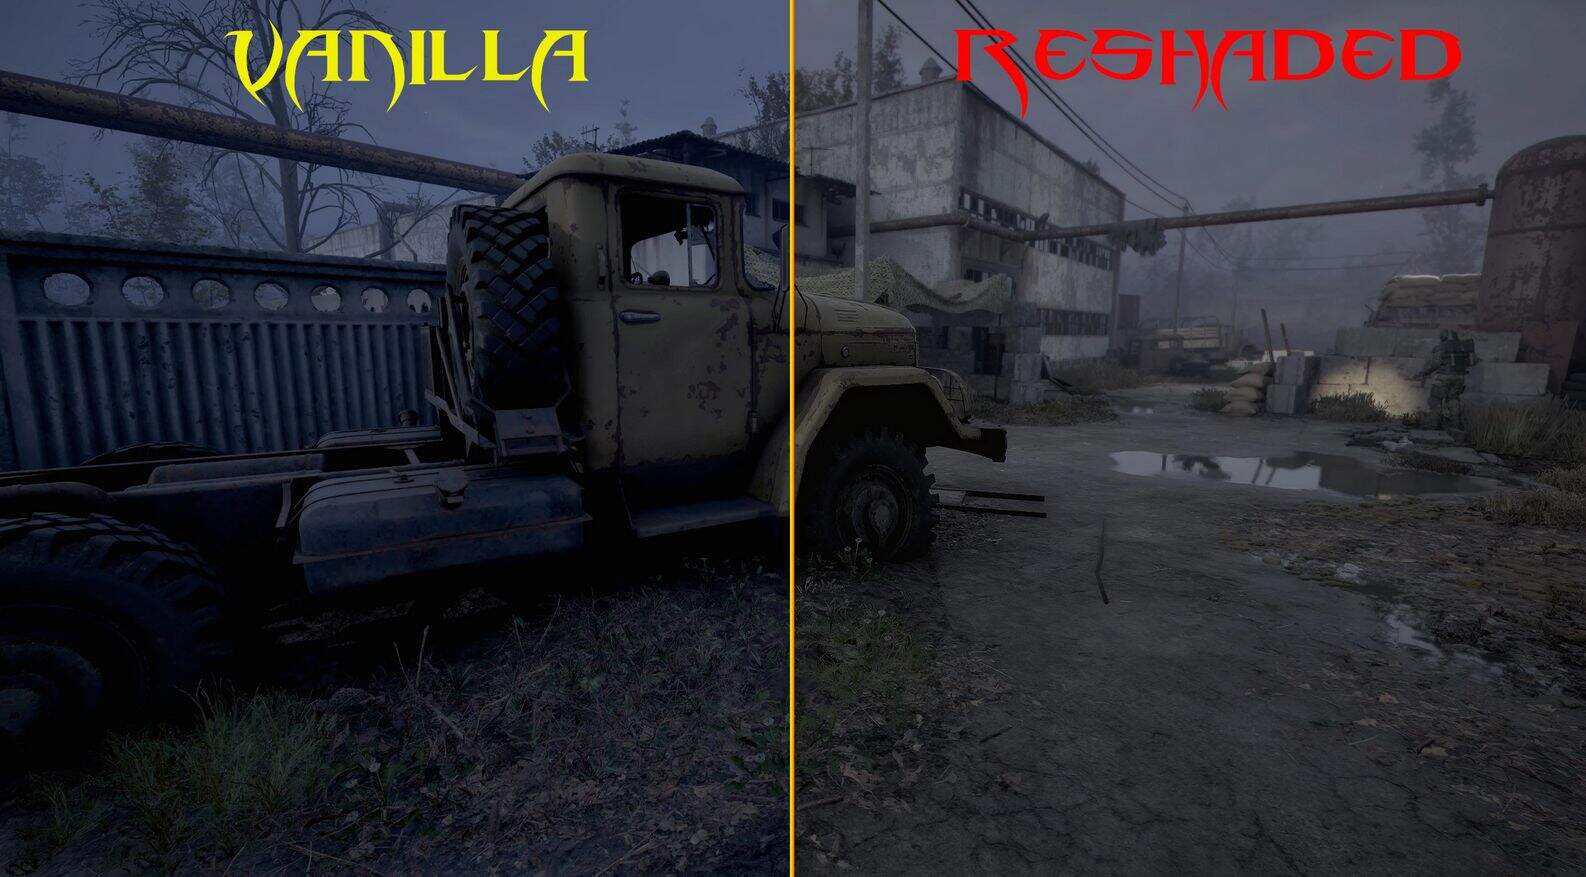
1) Cinematic-DOF
Finally!!!! If you take a look at my mods, you will see that this is one of the effects I really like!
UE5 is much more difficult to work with, so I needed a lot of time to configure the settings until I achieved the result I was looking for!
However, it comes with a flaw! If you experience some “flickering,” you need to open the overlay (HOME key), then enter the “Advanced” tab to access Depth Data. There, you must check some of the strings by enabling/disabling lines until the disturbing effects stop and you can enjoy a nice bokeh!
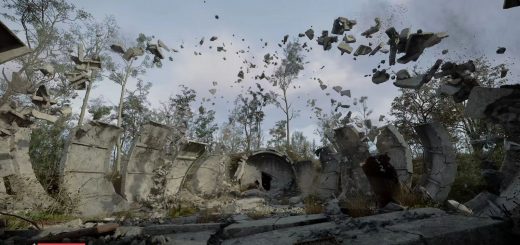
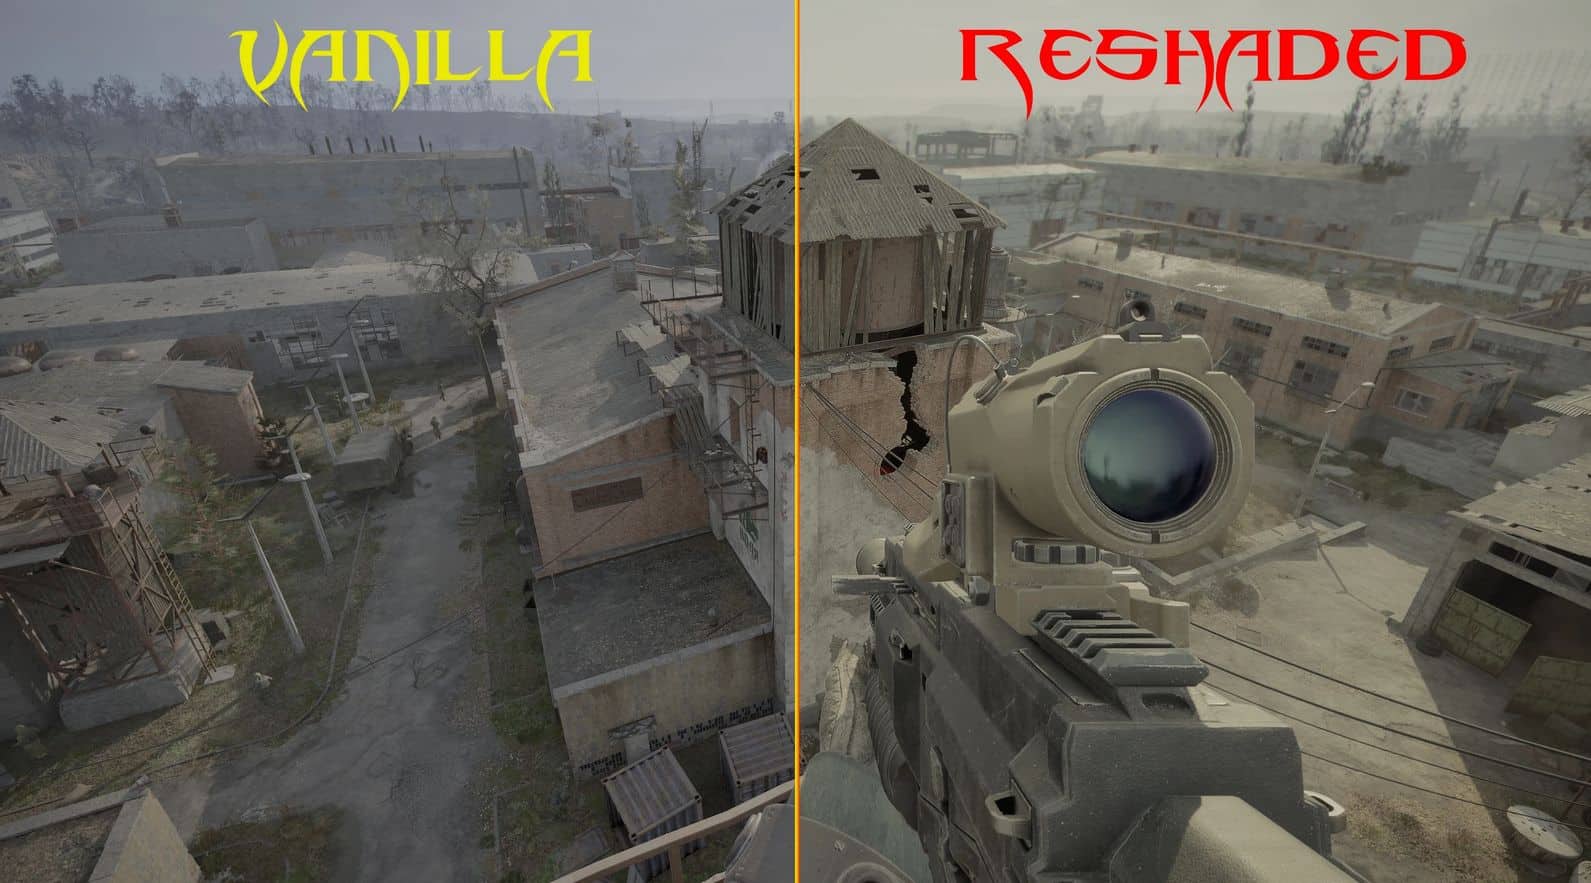
2) Filmic Anamorph Sharpen
As the name suggests, this shader improves image sharpness.
Interestingly, I configured it so that only the center of the image is processed—this is visible in the gallery.
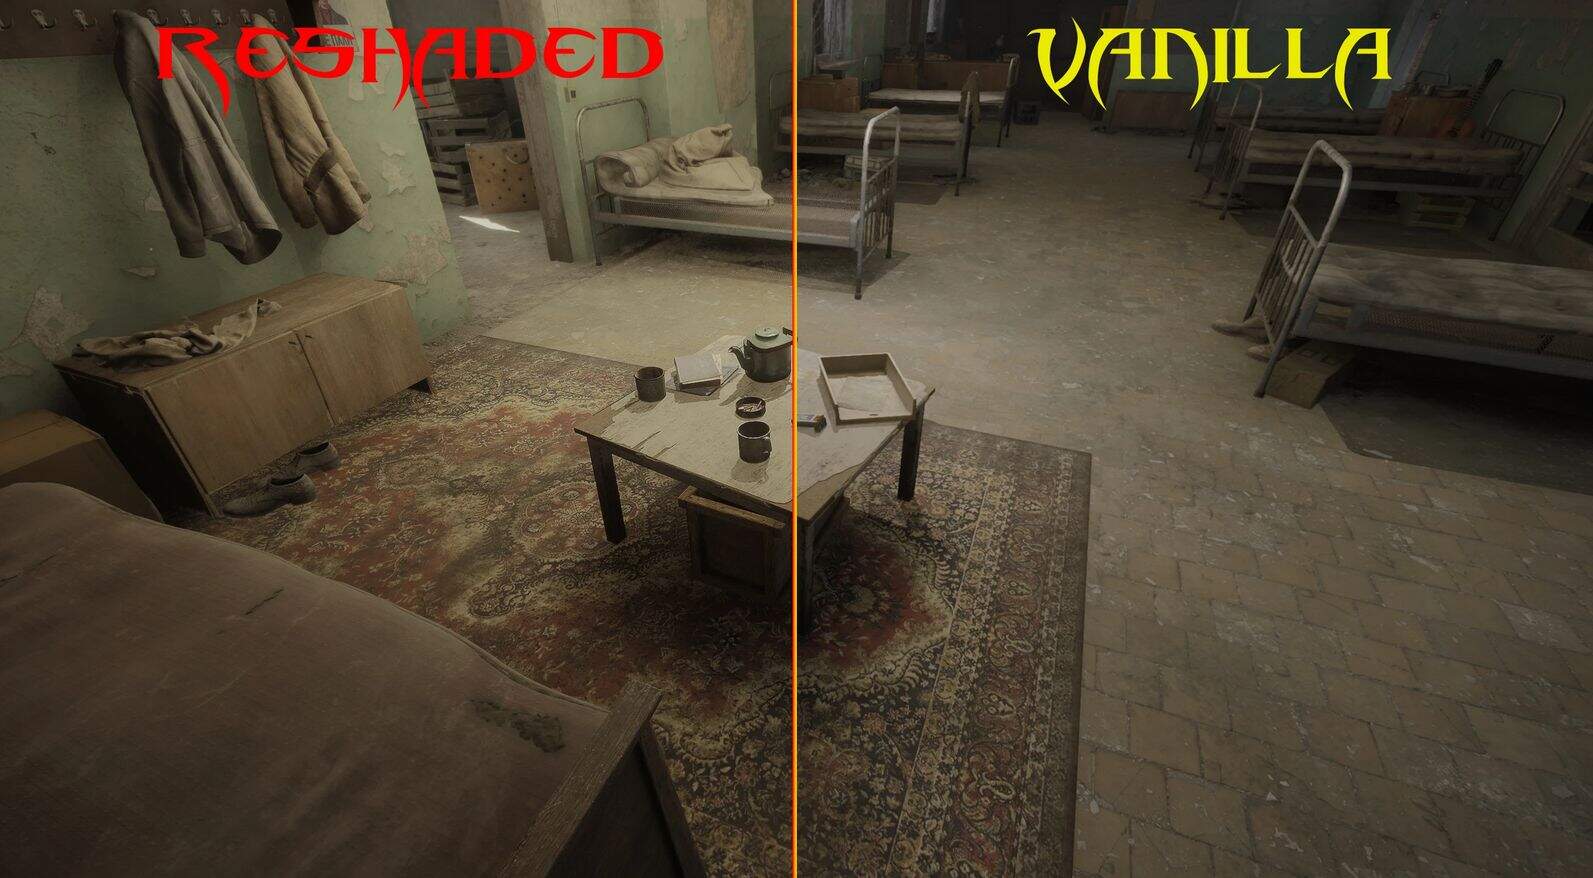
3) Color Grading
I used this shader to make colors appear more natural.
It took me at least an hour or two to fine-tune the perfect settings—I’m quite meticulous when it comes to this.
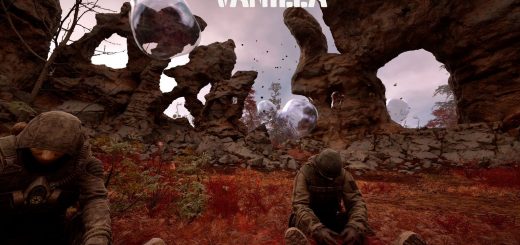
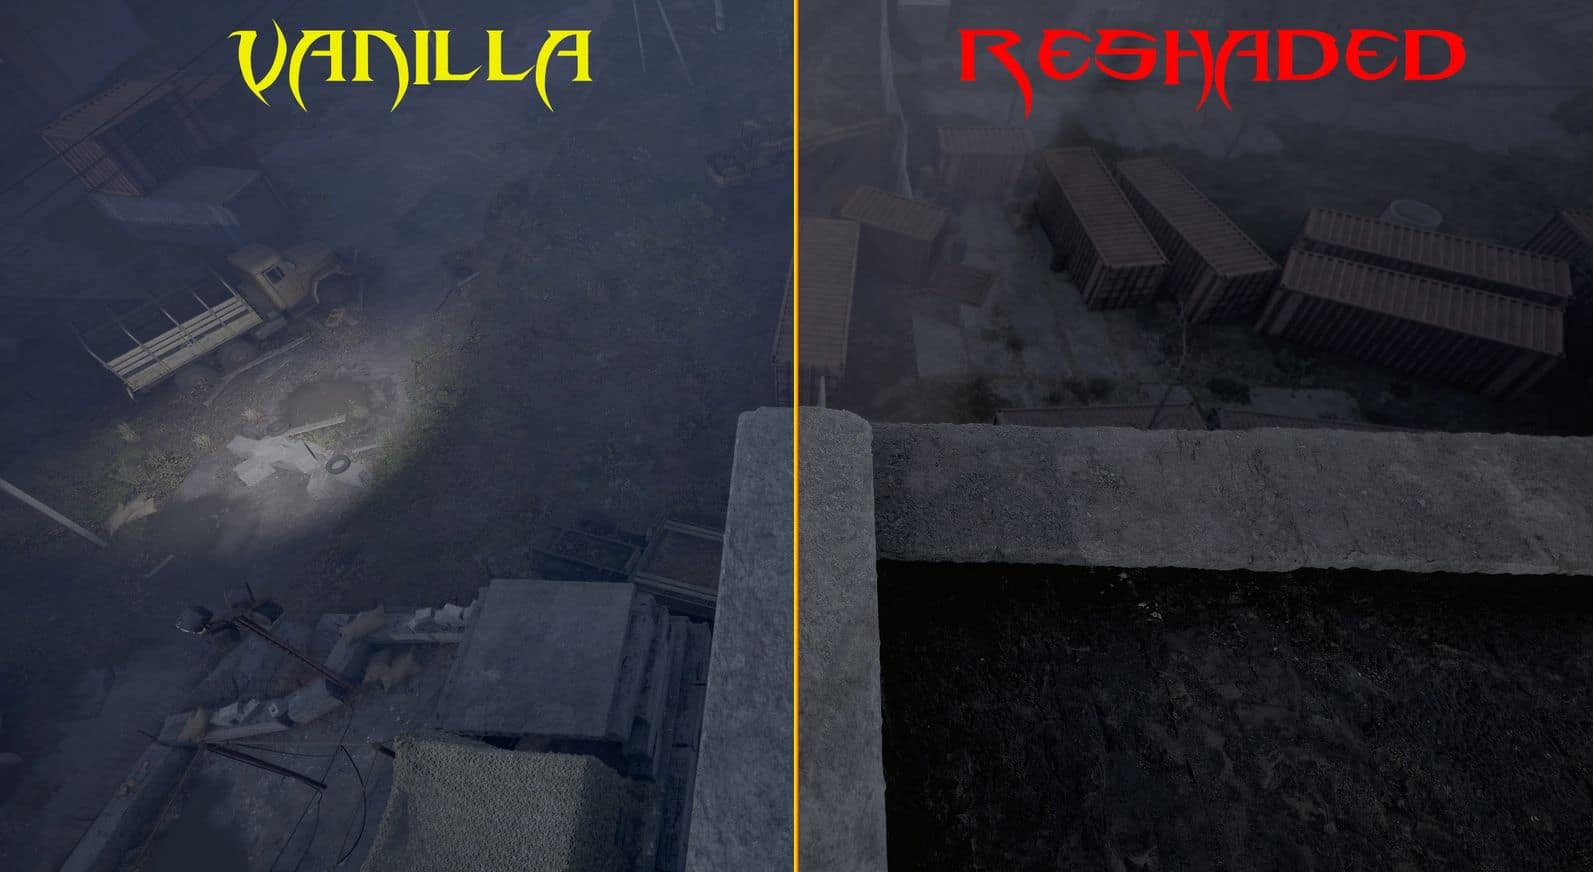
4) Magic Bloom
This shader helps me create custom screen dirt overlays (e.g., scratches, dust, and dried water droplets).
I based this texture on glass elements, because in the Zone, nothing looks brand-new.
To ensure immersion, I carefully adjusted the texture so that the central viewing area remains unaffected.
– Like in my MOD S.T.A.L.K.E.R. 2 – The Emission this effect includes a self created and edited Screen-Dirt Texture,
which you are allowed to use in your personal presets as well, but you have to credit me, if you use it in your releases.
And that’s all for the detailed settings!
*Keep in mind, that my display anor TV is setup with a specific brightness-, contrast- and colorlevel! So it could happen, that you need to re-adjust your device, to get the sweet-spot.
*Even if my System and Game is running HDR, this ReShade-Preset is compatible with SDR as well.
INSTALLATION GUIDE
Unpack into gamedirectory, for example:
“C:\Program Files\Steam\steamapps\common\S.T.A.L.K.E.R. 2\Content\Stalker2\Binaries\WinGDK\*here*”
“C:\XboxGames\S.T.A.L.K.E.R. 2\Content\Stalker2\Binaries\WinGDK\*here*”
Uninstallation:
For uninstallation, you only need to deleate the files, unziped into your gamedirectory,
which are included in the 7z.zip.
ATTENTION:
Edit: “ReShade.ini” with an Editor (f.e. Note++ or Windows Editor).
Then Edit this line:
“StartupPresetPath=”
You have to enter the exact path of your Stalker2-Installation f.e.:
“G:\XboxGames\…”the Rest is mostly identical-> S.T.A.L.K.E.R. 2\Content\Stalker2\Binaries\WinGDK\Stalker2 – A-Bomb.ini
On my System, the Game is installed onto a different NVME SSD and ReShade isn’t able to save the settings correctly.
I can’t tell if it’s a bug of ReShade or it’s because of XBox Game Pass on PC, but I had a hard time to figure out, what’s going on!
Don’t forget:
ReShade Hotkeys:
Pos1 (Home) = Enter the Overlay/ReShade Editor
alt + Pos1 (Home) = Disable/Enable Performance Mode
alt + Del = Enable/Disable Effects (Update – Insert was wrong)
IMPORTANT NOTICE:
a) Installation-Guide, if you don’t know already – just take a look into the included “How2Install.txt” whithin the 7zip-file.
b) You can adjust the settings if you want, but I would keep the 7zip, to get back to original-settings, if needed.
c) Further instructions are also included within the “How2Install.txt” within the 7zip-file.